Are you running multiple physical locations for your Shopify store and looking for ways to manage inventory transfers efficiently? Shopify offers an inventory transfer feature that enables you to move inventory between your locations with ease. In this article, we’ll walk you through the process of transferring inventory in Shopify and provide some tips to make it more efficient.
Inventory Transfer in Shopify
Inventory transfer in Shopify is the process of moving products from one location to another. When you transfer inventory, you’re updating the stock quantities of the products in both the sending and receiving locations. This allows you to keep track of your stock levels accurately and avoid overselling.
Do you have a large inventory on your Shopify store?
InventoryHero is a useful Shopify app designed to help online store owners manage their inventory more efficiently by automatically discounting non-moving or slow-moving items at the variant level.
To transfer inventory in Shopify, follow these steps:
Step 1
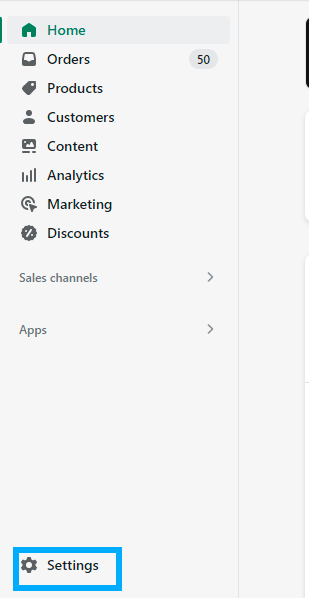
Go to your Shopify admin dashboard and click on “Settings.”
Step 2
Select “Locations” from the dropdown menu.
Step 3
Click on the “Transfer” button next to the location you want to transfer inventory from.
Step 4
Choose the products you want to transfer by selecting them from the product list. You can also use the search bar to find a specific product.
Step 5
Enter the quantity you want to transfer for each product and click on the “Add” button.
Step 6
Click on the “Save” button to complete the transfer.
Do you have a large inventory on your Shopify store?
InventoryHero is a useful Shopify app designed to help online store owners manage their inventory more efficiently by automatically discounting non-moving or slow-moving items at the variant level.
Here are some tips to help you transfer inventory more efficiently in Shopify:
Use Barcodes
Using barcodes can help you scan products quickly and accurately. You can print barcodes for your products using a barcode printer or generate them using a barcode generator.
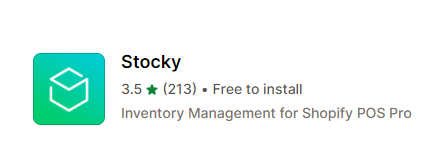
Set Up Automation:
You can use Shopify apps like Stocky or TradeGecko to automate inventory transfers between locations. These apps can save you time and effort by automating the transfer process.
Plan Ahead:
Before transferring inventory, make sure to plan ahead and check the stock levels of both the sending and receiving locations. This can help you avoid overselling or running out of stock.
Use Serialized Inventory:
If you sell products with unique serial numbers, using serialized inventory can help you track inventory more accurately. Serialized inventory assigns a unique serial number to each product, making it easier to track their movements between locations.
Do you have a large inventory on your Shopify store?
InventoryHero is a useful Shopify app designed to help online store owners manage their inventory more efficiently by automatically discounting non-moving or slow-moving items at the variant level.
Transferring inventory between locations is an essential part of managing a multi-location Shopify store. Shopify’s inventory transfer feature makes it easy to move inventory between locations and keep track of stock levels accurately. By following the steps and tips outlined in this article, you can transfer inventory more efficiently and avoid overselling or stockouts.